This week I converted a concept into a partial reality.
The target for the first prototype of the enclosure was to create one half of the enclosure, in order to test different LEDs in am environment that resembles its final form.
Laser cutting. Woooooo using the laser cutter! After a brief experience with it to make an instructional video, it was high time to do something else with it.
I created a vector diagram in Adobe Illustrator for the enclosure, and used it to laser cut the shapes onto materials – testing first with cardboard.


After a few “practice runs”, I was getting the desired shapes.


 Laser cutting the acrylic was easy enough. I used the ‘tape trick’ to confirm the laser cut all the way through without altering the alignment of the acrylic sheet.
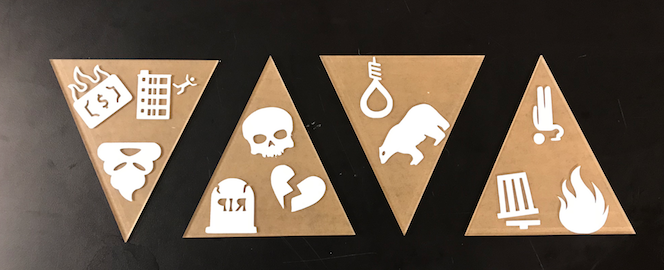
I only made 4 triangles (enough for one half of the crystal) to conserve material for later versions.

Decoration and Construction. My favorite part.
During a user testing session I learned quite a few things about the perceived output of the device.
First off, we also went through a few different types of material the LEDs could shine through (2×2″ samples: +$5 to BOM). We reviewed the two different colors at different intensities of light


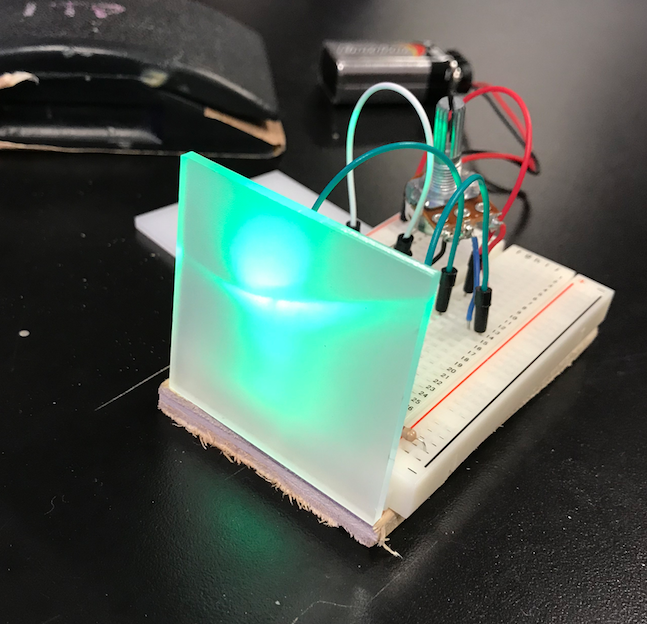
SECOND OF ALL, did you know that in Chinese and other asian markets, RED means GOOD, and GREEN means BAD? While most people who tested perceived the good as green and red as bad, this meant that there definitely needs to be some sort of secondary indicators of “value” very clearly out there.
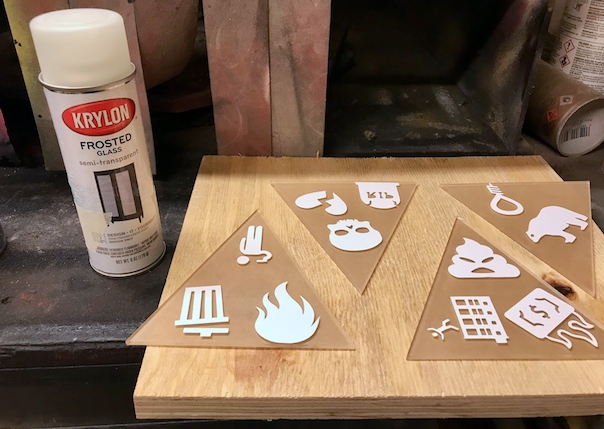
After further research about how to ‘etch’ engravings into the material, I found it might be easier to ~~spray paint~~ a translucent glass coloring onto clear acrylic. This item, specifically (1 can; +$17 to BOM) got the job done.
As for how to cover up certain areas, one option was to hand-cut painters tape into the desired shapes and symbols. Ew.
No way. Instead I used a vinyl cutter to make sticker stencils that could be peeled off. Meet Cameo!
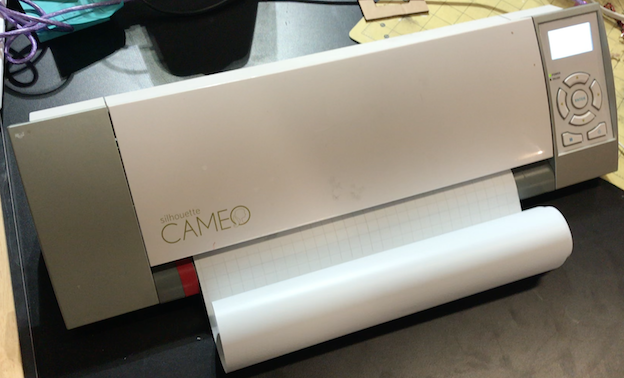
Cameo is a “printer” in the same way the laser cutter is a “printer” but it instead makes cuts with a little tiny, precise razor. After spending some time in the proprietary software – which was basic but handy – I had some icons to cut out.

The first pancake was awful, but showed what could and could not be done with the machine. In no time I was printing stickers of my choice.


In no-time I had a set of vinyl stickers attached to the acrylic

I did a test run of painting the vinyl with a small piece. It worked for the most part, but it looked like the edges had some issues.
So I decided to apply a little heat to make the viynl stick a little better. No need for a glue gun to do this though – don’t want to alter the acrylic with too much heat – instead I used a good-old-fashioned blow dryer.
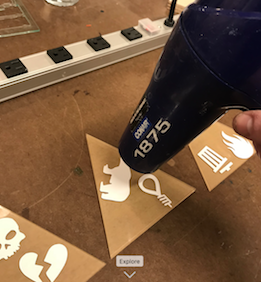

I am not sure if this helped at all, but I pointed the heat at each sticker for about 30 seconds each.
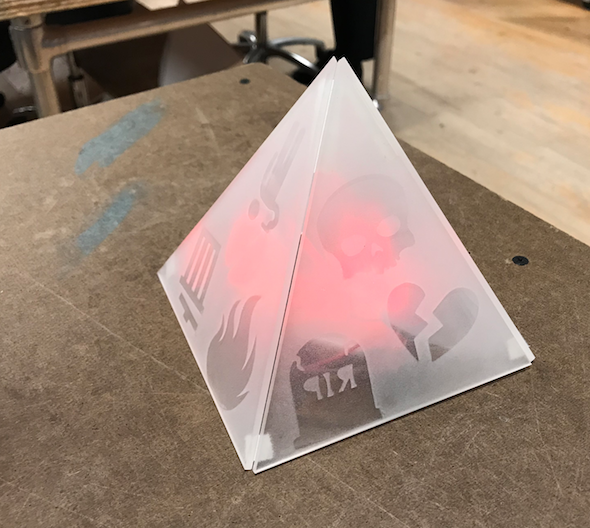
Afterwards, it was then finally time to paint the damn things!
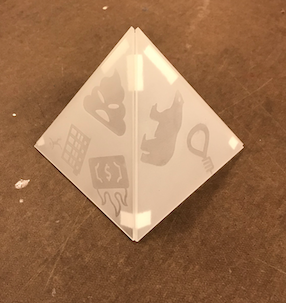
I wanted to paint both sides, so I first painted the side with the stickers, then removed the brown protective film from the other side and painted that as well.


After the paint dried, I removed the stickers and created a temporary connection between the pieces with masking tape.


3 replies on “From API to LED: Prototype Enclosure & Decoration”
Nice work. I like that you used the vinyl cutter, but I’m wondering if you had to. If you left the covering on the top surface of your acrylic and cut very light lines around your shapes, you probably could have used those as stencils. Just a thought.
How do you intend to attach all of the triangles together? Have you tested lighting with your newly painted triangles?
I’m curious to see where this goes.
[…] right – just like to the decals used for the crystal, I returned to the Cameo vinyl cutter to make some music iconography for the enclosure. It was very […]
[…] attempts using acrylic glue as designed here were failing and falling […]