This post is a summary of the work and learnings from ITP’s Haptics weekend workshop class.
Our team’s work ultimately culminated with a fake cat that ‘purrs’ when you pet it 😻
Vibration and haptic feedback in general is created by converting electricity into kinetic energy; aka through a motor. Rudimentary haptics can be created with any motor, such as this small DC motor with a piece of tape attached:
Vibrating Motors
Going beyond spinning motors, there are motors designed to vibrate. The look like one of two designs:


In this course we used the small circular type to explore haptics. Controlling the motor strength with an arduino, we experimented with different power levels and patterns:
We created a fade-in / fade-out script, but as you can see, it mostly seems to be on, or not-on. To address this, we decided to “do more”.
Creating Vibrational Effects
What’s better than one motor that vibrates? Three motors that vibrate! We added two more motors to our circuit and tried to create a continuum effect by making each motor vibrate in turn, one after the other:
The code for this was very simple, basically transitioning between the none and maximal vibration:
void loop() {
digitalWrite(PINA, HIGH);
digitalWrite(PINB, LOW);
digitalWrite(PINC, LOW);
delay(shortDelay);
digitalWrite(PINA, LOW);
digitalWrite(PINB, HIGH);
digitalWrite(PINC, LOW);
delay(shortDelay);
digitalWrite(PINA, LOW);
digitalWrite(PINB, LOW);
digitalWrite(PINC, HIGH);
delay(shortDelay);

... you get the idea
While the range of values you can write to the motor are between 0 and 255, getting more elegant haptic controls is not so simple. Furthermore, the feeling it evokes when being held (or taped to ones skin) versus being laid on a table were very different.
More Elegant Vibrating Effects
Enter the DRV2605 haptic controller driver – a piece of hardware designed to make haptics easier.

Instead of taking the time to figure out the values and timing of routing energy to the motor, this driver lets you write pre-defined commands to achieve various vibrational effects – and boy are there a lot of them. Just look at all the details that the people at Texas Instruments has already figured out on this data sheet.
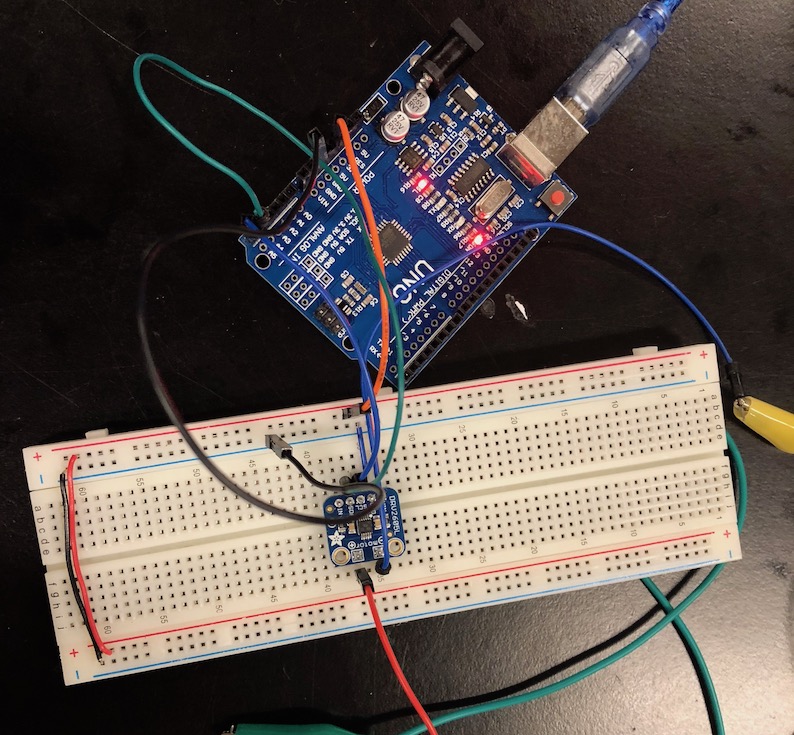
When wired between the arduino and the motor, this driver provides 123 different pre-defined functions (see page 55 of the documentation).
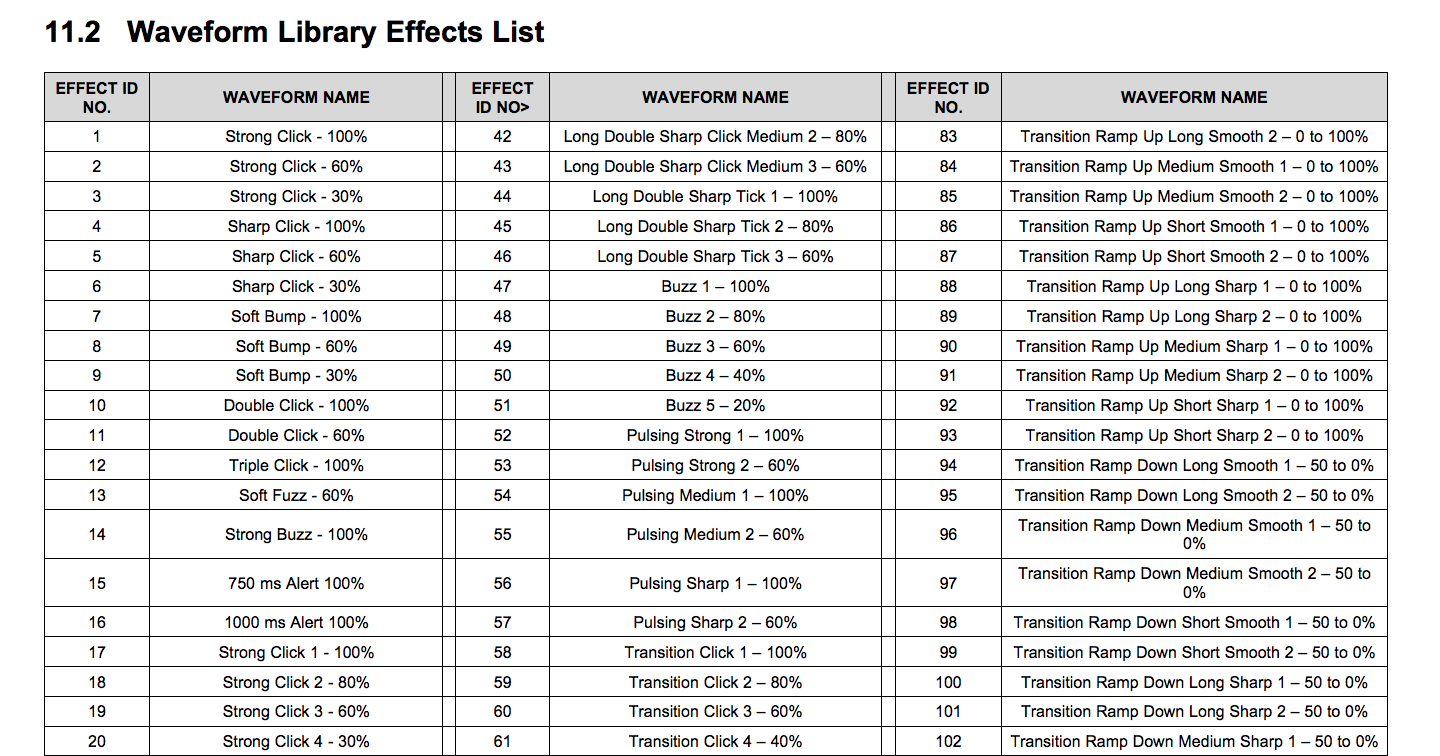
We experimented with a bunch of these commands – we especially liked the ‘Strong Click’, ‘Buzz’, and ‘Transition Hum’ options.
Purring Kitty v1
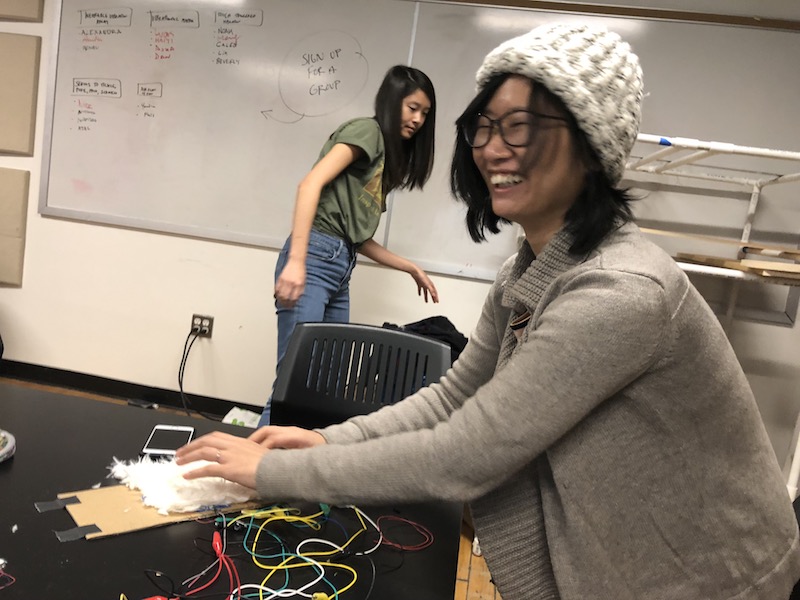
With these commands, we set out to make a vibration that actually felt like something IRL. We decided to replicate the feeling of a cat purring. Meow!

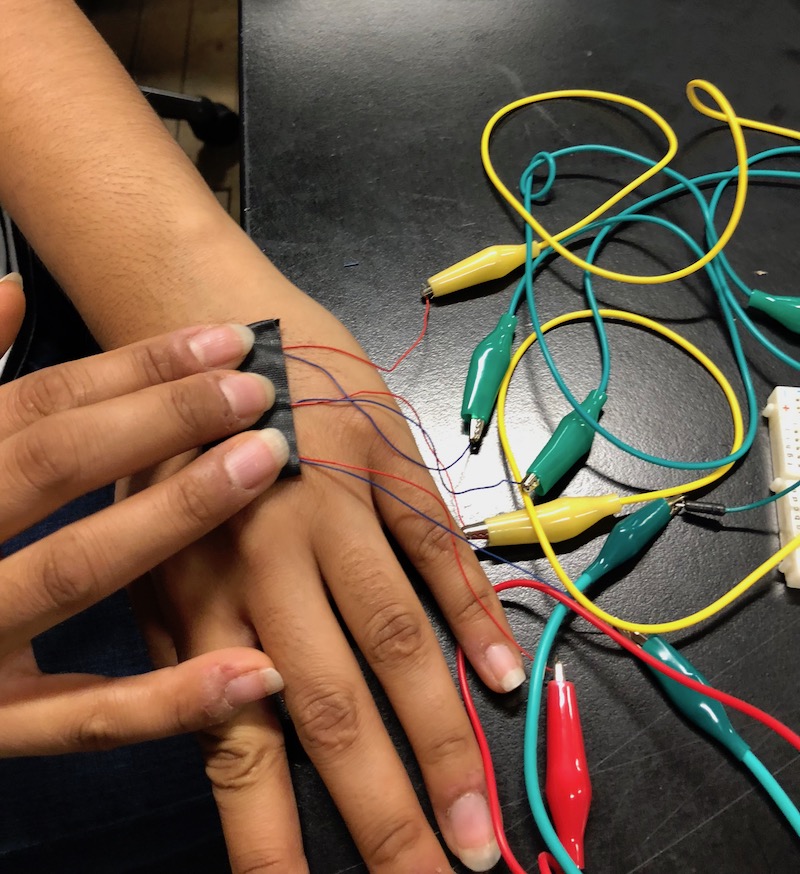
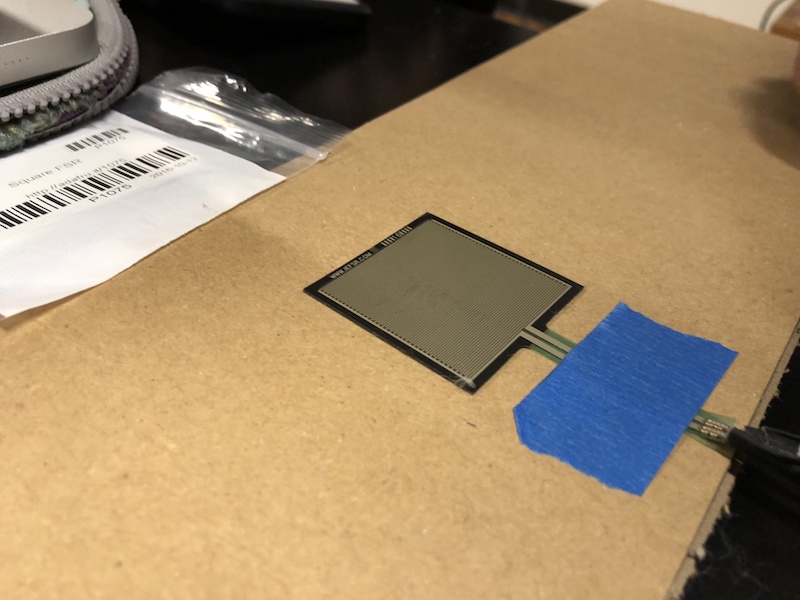
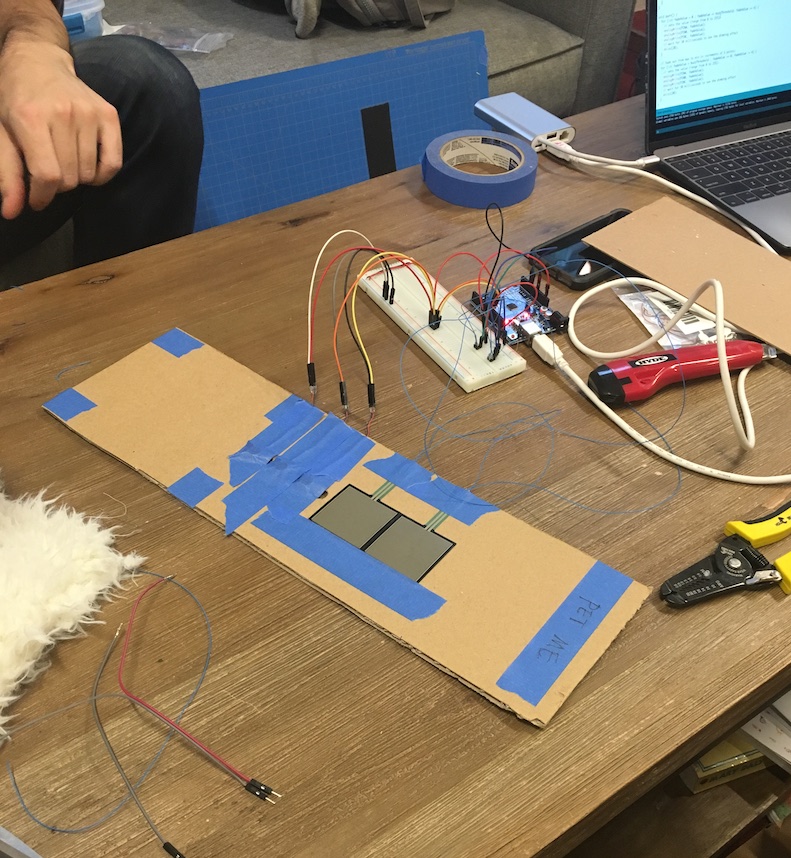
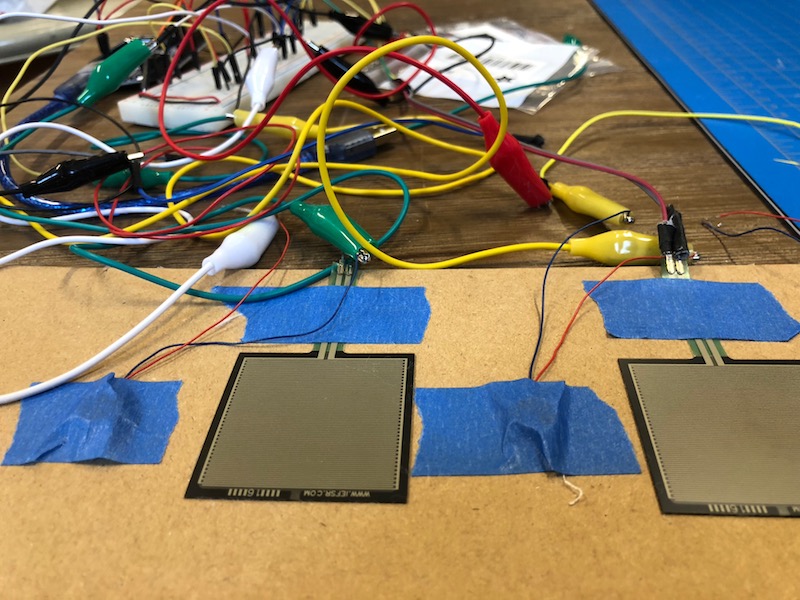
To achieve this feeling, we used FSR force sensors to detect pressure:
…and wrote another simple arduino script that makes three motors fade in/out vibrate when the force sensor detects pressure:
void loop {
  if (fsrReading >=70) {
    pettingNow = true;
  }
  if (pettingNow == true) {
    purr();
    pettingNow = false;
  }
}

void purr() {

  //Fade in
  for (int fadeValue = 0 ; fadeValue <= threshold; fadeValue += 10) {
    analogWrite(PINA, fadeValue);
    analogWrite(PINB, fadeValue);
    analogWrite(PINC, fadeValue);
    delay(20); // wait for 20 milliseconds to feel the fading effect
  }

  // Fade out
  for (int fadeValue = threshold ; fadeValue >= 0; fadeValue -= 10) {
    analogWrite(PINA, fadeValue);
    analogWrite(PINB, fadeValue);
    analogWrite(PINC, fadeValue);
    delay(20);
  }
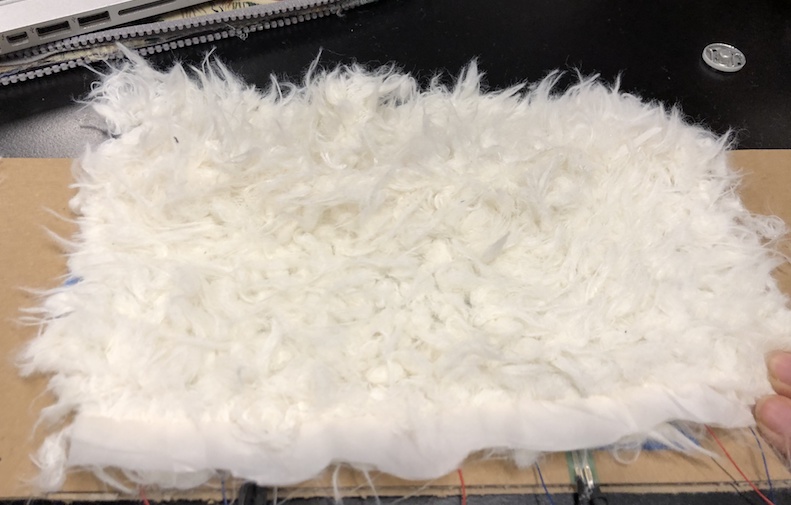
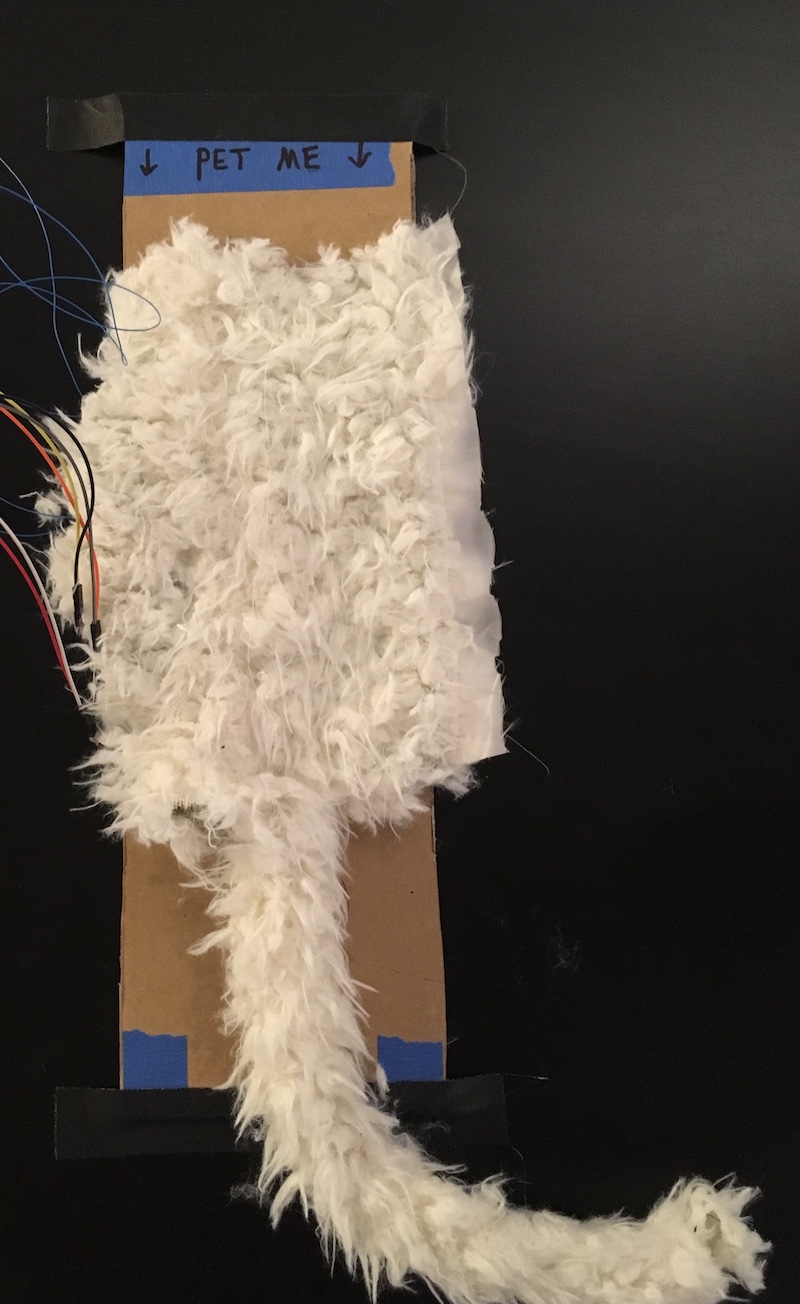
Yet just having 3 motors vibrating was not enough. What really made this project purr was the material we place over the motor:
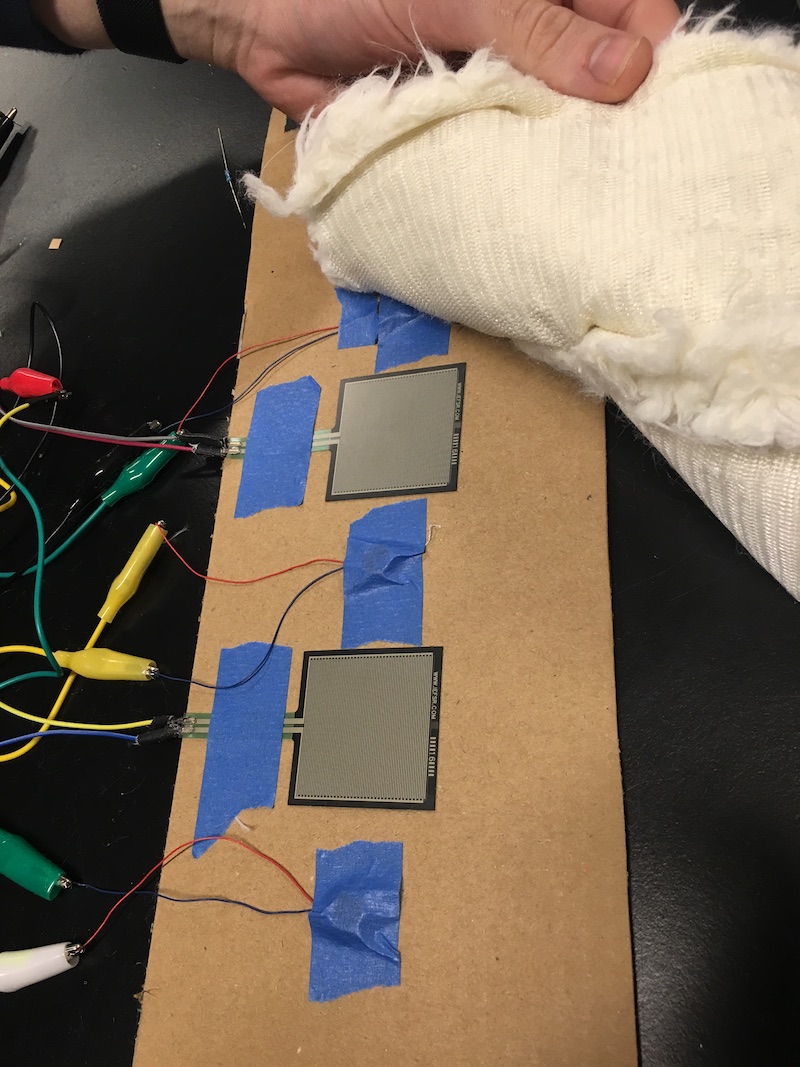
The vibrating motors under this soft fake fur material was quite nice, but with just one force sensor a user could make the ‘cat’ purr simply by poking or prodding it. This is certainly not true of real cats 😾 so we added a second force sensor, distributed across the length of the fur:
…and changed the condition for which a ‘purr’ would be activated:
  if (fsrAreading + fsrBreading >=70) {
    pettingNow = true;
  }
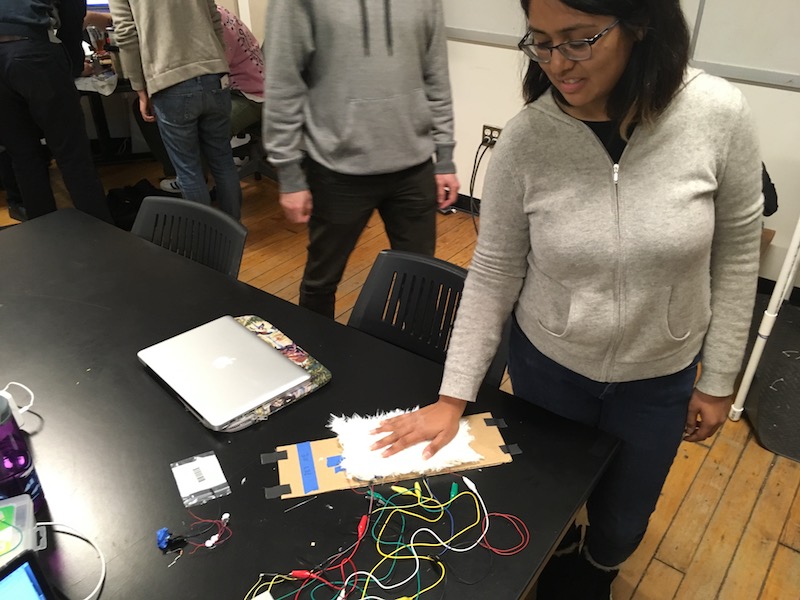
All of the sudden, we had a fake cat that vibrated when stroked! It was very fun to touch:
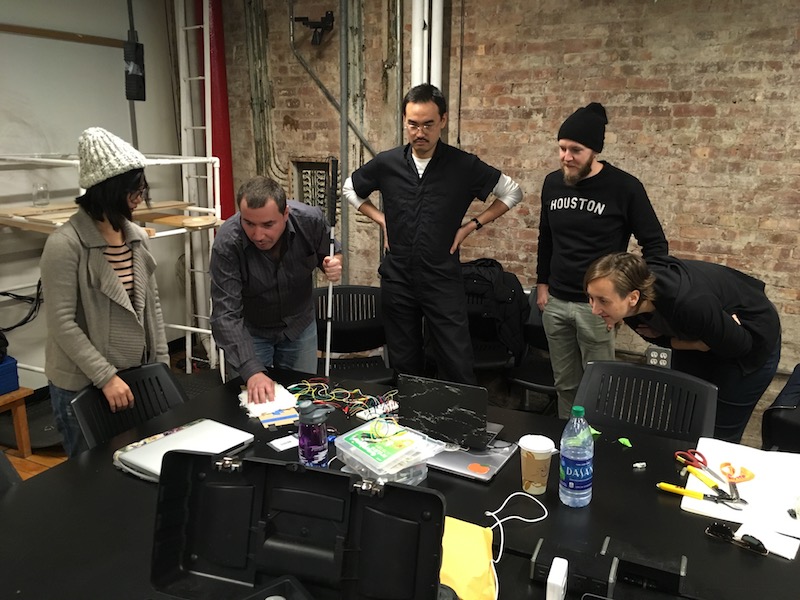
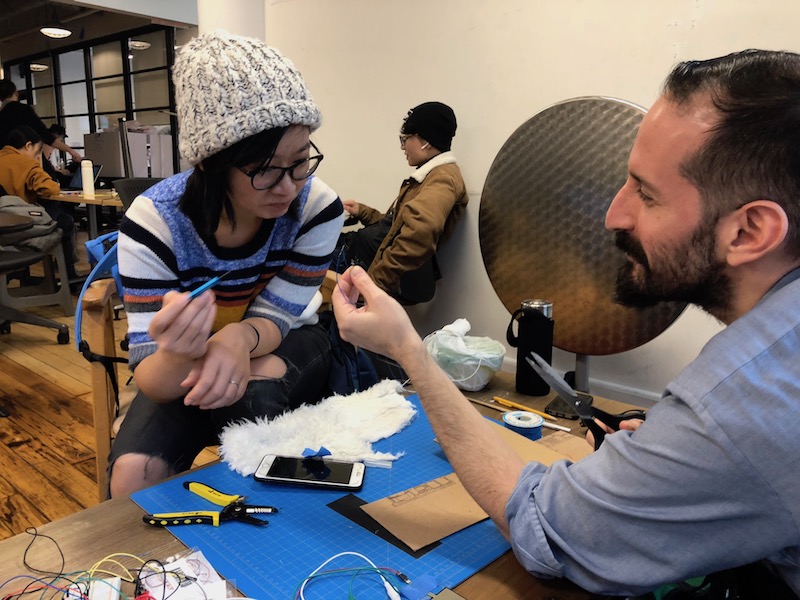
We shared our cat with the world, and people seemed to enjoy it:
Altogether we found the kitty to be a haptic success!
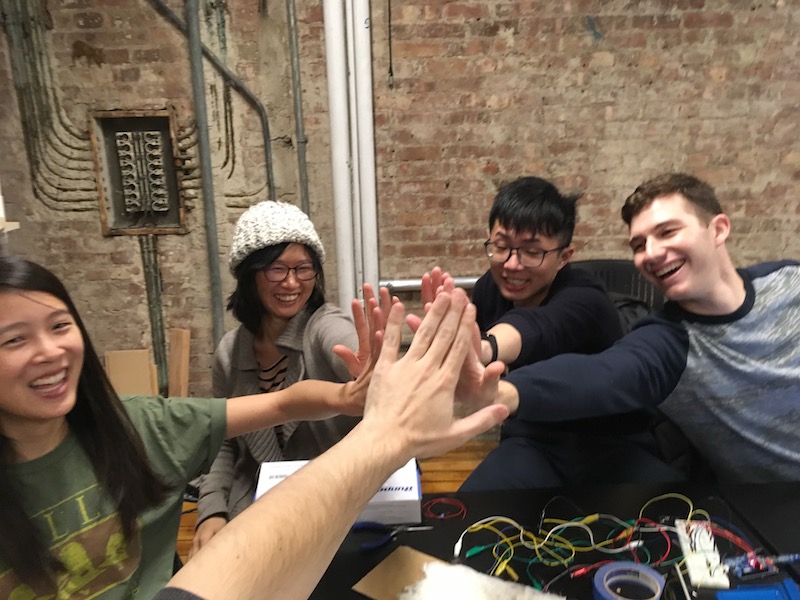
Great job, team!
Purring Kitty v2
During it’s demonstration, we gathered a few pieces of useful feedback:
- People could feel the slight bumps of the motors on the cardboard, taking away from the mystical purring effect
- The cat purrs only when you are almost done stroking it (this may be true of cats as well, but is not an ideal haptic response)
- The cat purrs regardless of which direction you stroke; again, this is not the case for real cats 😼
- “It doesn’t really look like a cat” 😑
So we decided to improve our kitty, and really make the thing purr (too many purr puns?)
Vibrating Motor Presence
We then embedded the motors within the cardboard, with a second layer underneath.
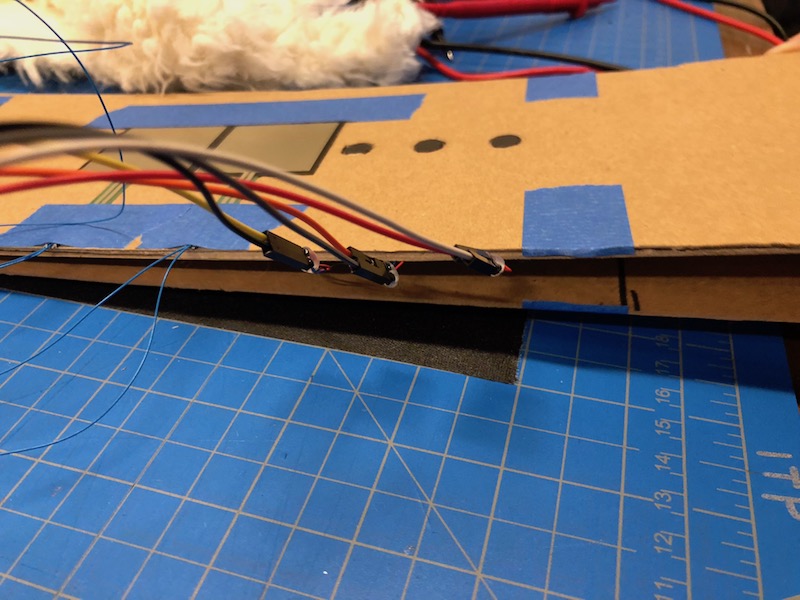
While this solution looked nicer, it actually significantly reduced the force of the vibration, removing the soft rising and depression of the purring effect. So in the end, we layered a few more pieces of tape on top of the sensors, which greatly helped on its own.
Force Sensor location and directionality
As you can already see, we also moved the force sensors to the ‘top’ of the cat so that a petting person stroking it could first activate the sensors and then feel the vibration.
…and modified the arduino code to active purring only when the second sensor was activated after the first one. There are better ways to program this, but a quick and dirty nested if statement worked just fine:
  if (fsrAreading >= petThreshold) {
    Serial.println("first sensor stroked");
    if (fsrBreading >= petThreshold) {
      Serial.println("second sensor stroked too");
      ...do stuff...
    }
   }
Making it look more like a cat
We did two things to make our creation look more like a cat. First, we re-wired our setup so that the wires from the side of the cat were less crazy-looking than this:
This is a notable and special step for us because we had a really great time using a wire wrapper instead of soldering. We were actually a bit obsessed with it…
Finally, we added a tail.
With these improvements, we were happy with our kitty (version 2.0). We taped it to a table, and left it for other people to play with.
The full code we used to control kitty 2.0 can be found below:
//vibrating motor pins
#define PINA 11
#define PINB 10
#define PINC 9

//force sensor pins
int FSRA = A0;
int FSRB = A1;


int buzzThreshold = 255; // max strength of cat purr
int petThreshold = 40; // force sensor threshold for detecting touch contact
int fsrAreading; // the analog reading from the first FSR resistor divider
int fsrBreading; // the analog reading from the second FSR resistor divider
bool pettingNow = false;

void setup() {
Serial.begin(9600); // We'll send debugging information via the Serial monitor

}

void loop() {
fsrAreading = analogRead(FSRA);
fsrBreading = analogRead(FSRB);
Serial.print("A reading: ");
Serial.print(fsrAreading);
Serial.print(" | B reading: ");
Serial.println(fsrBreading);


//Easy option: nested if
if (fsrAreading >= petThreshold) {
Serial.println("first sensor stroked");
if (fsrBreading >= petThreshold) {
Serial.println("second sensor stroked too");
pettingNow = true;
if (pettingNow == true) {
purr(); purr(); purr();
pettingNow = false;
}
}
}
}

void purr() {
for (int fadeValue = 0 ; fadeValue <= buzzThreshold; fadeValue += 4) {
analogWrite(PINA, fadeValue);
analogWrite(PINB, fadeValue);
analogWrite(PINC, fadeValue);
delay(20);
}

for (int fadeValue = buzzThreshold ; fadeValue >= 0; fadeValue -= 4) {
analogWrite(PINA, fadeValue);
analogWrite(PINB, fadeValue);
analogWrite(PINC, fadeValue);
delay(20);
}
}